Sunday, May 3, 2015

An American Rout

We played the Battle of Hubbardton last night using the 1776 rules.  They are an old set, but we like the feel of them.  I've had the figs for this for a LONG time but we just got around to playing it finally.  Doug and I were the Americans, while Perry and Steve were the British.  The British entered down the military road from Ticonderoga with the light infantry in the van to find the American picket blocking the saddle.


The main body of the Americans, holding the fence in the field. Unlike the real battle, the fight never got to the field in our game.

 
The full British force marching through the saddle after pushing the picket back.  The light infantry are deployed for skirmishing in the lead
 
 
The supporting companies move up to block the British advance, but are chewed up by the British machine in turn!  Here, the light infantry have turned off into the woods and formed a skirmish line (the end of their line is at top center of the picture, just above the grenadiers), while the grenadiers are formed to attack against the scattered Americans.
 

Here is the light infantry moving through the undergrowth with the formed grenadiers in the background.  In the foreground, the Indians are giving the American militia fits with their fast movement through the woods.


2nd New Hampshire managed to gather its scattered forces and line up to hold the brook. 


The light infantry moving down the hillside clearing the woods and pursuing the militia.  A couple of supporting companies were able to harry the light infantry's flank and killed a couple of figures, but the formed battalions of light infantry and grenadiers were pretty much unstoppable.


Three of the American companies routing or retreating away from the grenadiers.  The Hessians haven't deployed yet - they are on the road behind the grenadiers.  The light infantry can be seen in the distance heading down the hill after the militia.


Steve and Perry masterfully handled the British and Hessians.  Here the British are just about fully in line: from top left, the light infantry, the Corps of Marksmen, the grenadiers with Simon Fraser and Peters' Corps right behind them, then come the Hessians with the jaegers at the brook, while the Hessian grenadiers and light infantry have crossed to pursue the retreating Americans, along with a detachment of the 24th Foot.  The 2nd New Hampshire is lined up to receive them. 
 

3rd New Hampshire is racing along behind the 2nd to try to hold its flank.  I didn't expect the light infantry to be on me so quickly and should have reinforced much sooner.  I could have wheeled the 2nd back, but it would have taken time and I would have been facing the full weight of both the light infantry and the grenadiers.  It's my own fault for waiting so long to reinforce the line.


At this point we called the game.  Doug had to go and it was getting late.  It might have been different if I had moved up another regiment or two from the fence.  I think the picket and the supporting companies should have fallen back faster, rather than trying to stand toe-to-toe and giving ground slowly - basically, it might have worked if they had led the British into the field.  At any rate, it was a fun - if frustrating - game.  There were few casualties for the number of shots fired.  The vast majority of them were low percentage shots because of being in the woods and most of the units were in skirmish order.  Perry was in unusually fine form, however, single-handedly doing the most damage with a (for him) rare performance of dice handling.  He killed several figures and at one point the Americans had three units in rout, although at the end, two of them began to improve their morale.  All in all, though, a good time.  Unfortunately, at this point, I have to paint more figures to do any more Rev War battles. 

Saturday, February 28, 2015

Blockade Runners Come Home

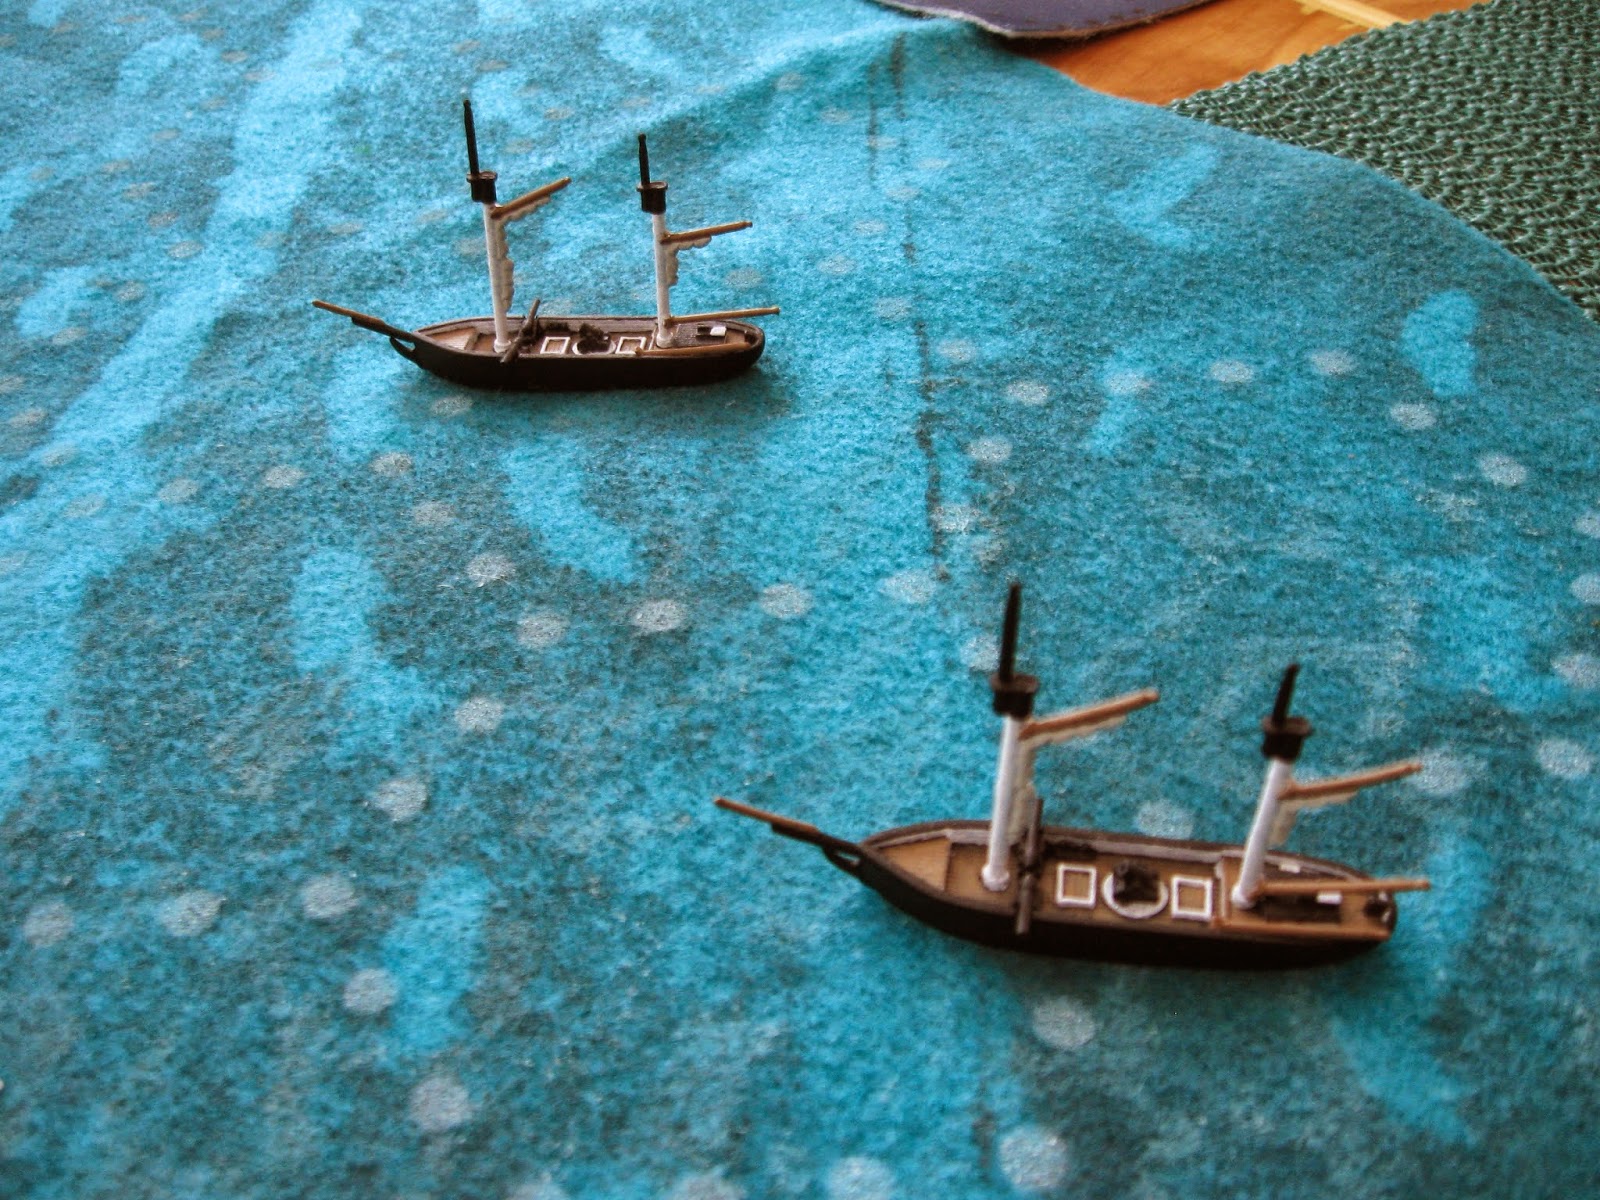
We did a fairly large ACW naval game today that I have been planning for a long time.  The basic set up is that the Union is blockading the mouth of a river and receive intelligence that Confederate naval forces are on the move, heading downstream towards them.  The Union forces assume they Confederates are trying to break out of the blockade, but in reality, the Southerners are coming to escort a couple of blockade runners into to the river.  The board was set up as a large ox-bow with a small fort and some individual gun positions watching the river.  The Union had the Kearsarge and two Itasca/Unadilla-class 90-day gunboats, along with a pair of mortar schooners and the river gun positions.  The Confederates started with the Morgan, Gaines, General Moore, Nansemond and Hampton coming down the river.  Rolling randomly, the Alabama, Banshee and A D Vance entered from the ocean side on turn 7 or 8.  By then, the Union ships and the Confederate river flotilla had joined action. 

The Union patrol just off the coast.

The Confederate battle line rounding the ox-bow, with a small Union
fort on the point.

The Union mortar schooners, waiting for a target. 
 
Alabama, A D Vance and Banshee (r. to l.) entering the battlefield.
 
The battle became such a swirling mess that at this point, I couldn't even recap the highlights!  Everyone was shooting everywhere.  It was a tough slog for the Union, though.  The Confederates had more ships, but there was an even number of guns and the Union had a slight edge in weight of shot.  The Confederates were pretty confident from the beginning, but did become rather concerned when these little guys popped up on the table - three torpedo boats and their tender, an armed tugboat.  

 
The shot of the game probably came when one of the mortar schooners dropped a 13" shell right down Alabama's stack, demolishing her stack, cutting her speed in half and enveloping her in smoke for the duration of the game.  The schooners hit General Moore at least once as well. 
 
 
There was a lot of action and finally, towards the end of the game, ships started getting worn down to the point where damage was getting critical.  The Gaines was badly hit by the Kearsarge and the gunboats, to the point we thought it might sink or be forced to surrender from morale failure.  Neither happened.  The Nansemond surrendered to the armed tug a turn before the tug was sunk, and then was grounded on the shore.  One of the gunboats tried to cut off the General Moore, only to rammed and sunk.
 
 
The torpedo boats were unfortunately ineffectual.  One was sunk by gunfire.  The second was rammed and sunk.  The third made two attacks, missing with the first and the second was ruled a dud.  The A D Vance and the Banshee made it to the river none the worse for wear - the Vance had minimal damage, while the Banshee was in danger of being sunk.  If only the Union gunners in the fort hadn't been celebrating their victory a little prematurely they might have been able to do a little more damage as the Banshee screamed past.  Here, the Vance (left - one of its masts was accidentally knocked off) and the Banshee race of the safety of the pilings.  Banshee won by a nose with the last Union shot chasing them around the bend.  The Confederates had done a number on the gun positions, as well.  Two of the individual positions had been destroyed, and the small fort and remaining gun position were damaged. 

 
It was a fun - but LONG - fight.  Turned out to be about 8 hours of gaming or so.  I have two more ACW naval battles planned - neither as involved as this one, though hopefully as fun.  All of the models are from Thoroughbred except for the A D Vance, which is from Peter Pig.  We used Bay Area Yard's Under Both Flags rules, which, despite its flaws, we still find to be one of the most playable sets we've tried. 


Monday, February 23, 2015

Air Battle over the Sinai

Haven't posted for a long time, but haven't played any games with my units in a LONG time, either!  We got in a short Check Your 6! Jet Age game Saturday night, pitting Israeli F-4s against Egyptian MiG-21s.  We used the stock scenario from the CY6!JA rules - First Kill: Phantom.  I had the RF-4, Perry was flying to my rescue with another pair of F-4s, and Doug and Perry's nephew Daniel each had a pair of MiG-21s. 

Basically, the scenario has an RF-4 running for home with two pairs of MiG-21s being vectored onto it by GCI.  Another pair of Israeli F-4s are coming to defend it.  The Egyptians started on opposite sides of the playing mat, parallel to each other.  Daniel, being new to the game, could have set up almost on top of the RF-4, but didn't realize it and set up a whole area back from it.  I actually could have escaped, but just for gamesmanship, I suggested we move the planes back six hexes since Doug's playing mat is a little small in terms of number of hexes.  There hadn't been ANY action to that point in the game and didn't think it would be too fun to finish the game without any shooting.  This gave me an extra turn on the board. 

 
I was running at an angle to the Egyptians.  I couldn't turn away from them.  Although this would have given me the exit sooner, it also would have exposed my tail to their heat-seeking missiles.  They caught up to me, though, and at almost optimal range Daniel and Doug each launched two missiles and Doug's other plane fired his cannon.
 
 
Daniel's second missile obtained the kill before Doug even got to roll.  Perry was on the opposite side of the board from the Israeli friendly board edge so we decided to fight on, and I took over Perry's green pilot, while he continued with the skilled pilot.  I was able to get my revenge and shoot down Daniel's green pilot with my cannon, but his veteran finished me off in a head-to-head shot, while I missed.  And with that we decided to call it a night.  Not a bad tally for me - one kill, started with one plane and ended up losing two!   
 
 
This is the second Arab-Israeli air battle we've done and both times the Israelis have had their hats handed to them.  Not sure how that bodes, but it was fun anyway!  I really like the way my F-4s turned out.  I'm not quite as happy with the MiGs, but they look ok.  It's hard to see in these pictures, but there are thin light grey stripes on each side of each of the dark green stripes on the MiGs.  I have another pair of Egyptian MiG-21s to paint up and they are going to be in Nile pattern camo (which I like much better), when I get around to it.  The aircraft are from Tumbling Dice, and the stands and missiles are from Fight's On!  (And I should mention the decals are from Dom's, of course!)